Adobe Creative Cloud Extension Manual
- Sam Heijens (Unlicensed)
- Nicolas Staelens
- Luc Vervaecke (Unlicensed)
MediaHaven extension for Adobe Creative Cloud
The extension can be obtained from https://zeticon.mediahaven.com/adobe. It is important to use the version that matches the version of the MediaHaven installation and your computer platform.

1. Setting up
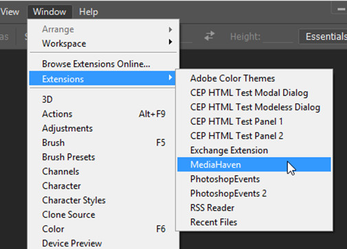
- Open Photoshop or Premiere Pro


- Go to Window > Extensions > MediaHaven
The extension will open. When you start the extension for the first time, the settings panel will automatically be shown. Here you should enter the
usernameandpasswordcombination you use to login to MediaHaven. Thepathshould be set to the url of your MediaHaven website.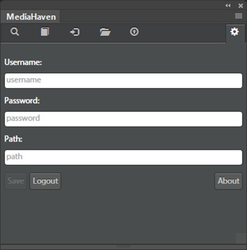
- Press

- If your credentials were correct, you'll be redirected to the search tab.
- If you want to change the settings at a later point in time, you can always go back to this view by clicking the
 icon in the top right corner.
These settings are saved persistently on your device. You'll probably only need to set them once, or when you want to change them.
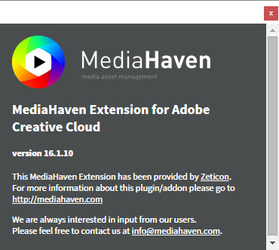
If you click the ![]() button, a new window will open, showing the version of the extension.
button, a new window will open, showing the version of the extension.
2. Interface
Structure
The interface consists of several areas.
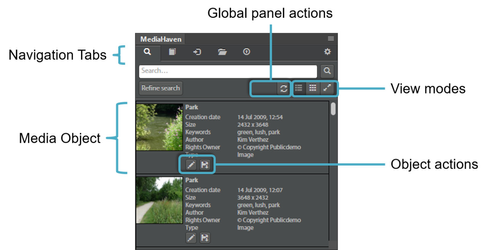
Navigation Tabs
At the top you can find the navigation tabs. These bring you to the different core parts of the extension. In the condensed (narrow) view they are represented by icons. If the extension panel is wide enough, the labels for the different tabs are also visible.


Global panel actions
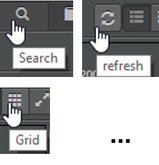
This is the area where global tab actions are located. Functions/ actions that are found here apply to the whole currently active tab. A common occurring action is the refresh ![]() action, which retrieves fresh data from the server.
action, which retrieves fresh data from the server.
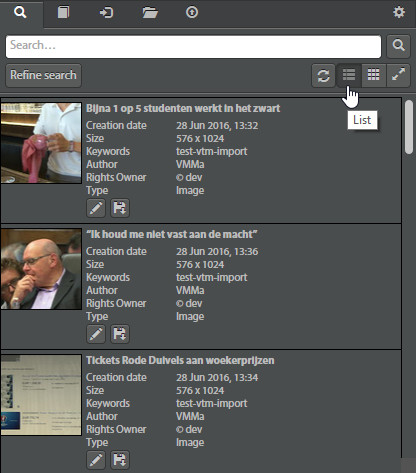
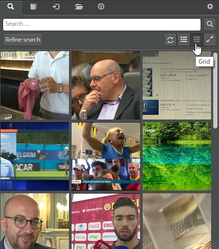
View modes
The objects can be viewed in two different modes ![]()
List view |
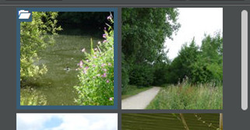
Grid view |
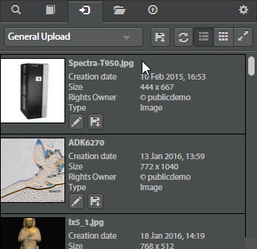
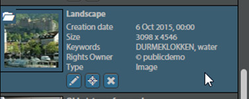
Media object
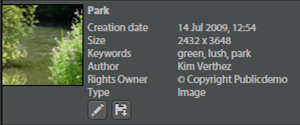
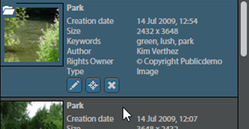
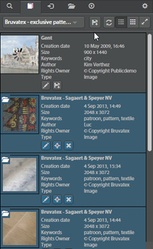
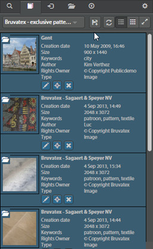
The media objects are shown, together with their metadata
Media object actions
These are actions and functions that only have effect on the media object by which they are placed.
Behavior
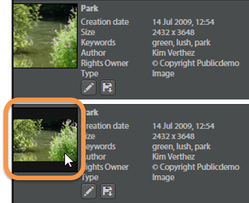
Thumbnail aspect ratio 
The thumbnails are zoomed in to fill the square thumbnail area. This makes the objects easier to identify. This approach however hides some of the data on the edges. If you hover over the thumbnail, the whole object is displayed in its correct aspect ratio.
Thumbnail Preview 
In Premiere, the thumbnails are shown in the 16:9 aspect ratio. Bij hovering over the thumbnail you can get a quick overview of the contents of the video, without having to download it.
Hover icons for tooltip
Many of the functions in the extension are displayed as icons. If the meaning of the icon is unclear, you can hover over the icon and a tooltip description will appear.
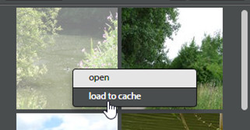
Right-click context menu
In the list and grid view you can also access the media object specific actions by right clicking on the object.

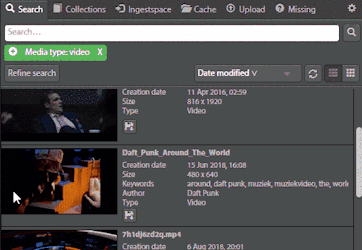
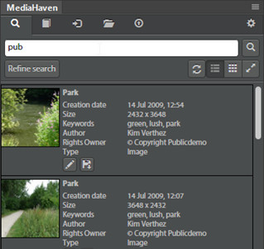
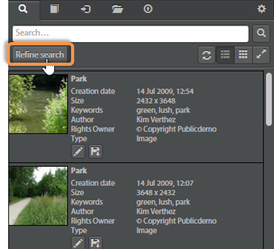
3. Browsing and searching for files
 Free text search
Using the "Search" tab, you can browse through your assets. When you scroll down, additional results are automatically loaded. The assets can be filtered by entering query terms in the search area. Search terms can be submitted by clicking the ![]() icon or just by pressing enter.
icon or just by pressing enter.
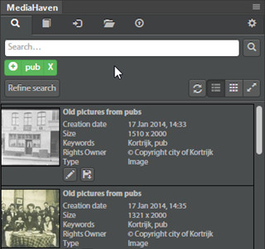
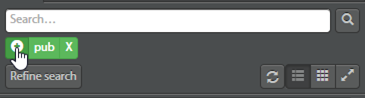
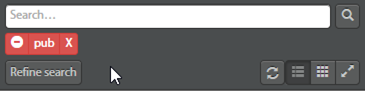
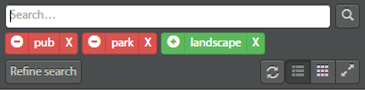
Query terms can be manipulated using the following controls:
Press ![]() to switch from include to exclude
to switch from include to exclude
Press ![]() to switch from exclude to include
to switch from exclude to include
Press ![]() to remove
to remove
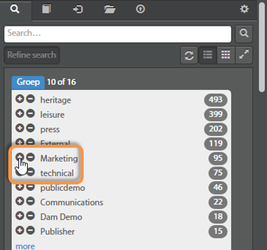
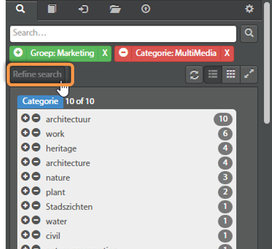
 Faceted search
Besides using the free-text search, you can also use the faceted search from within the extension. The facets panel can be opened by clicking the  button. From this panel facets can be included or excluded by selecting + or - respectively. The facet list will directly be updated based on the facets that are selected.
In order to see the results, the facets panel needs to be closed. This can be done by clicking  again.
It is of course possible to mix faceted and free-text search.
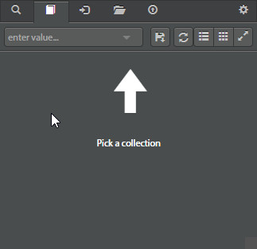
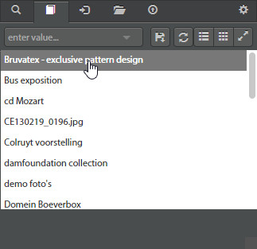
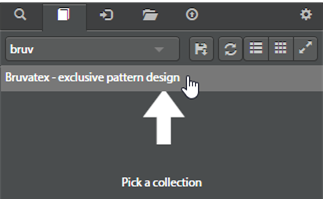
 Collections
Using the "Collections" tab, assets can be retrieved based on which collection they belong to. The collection can be selected/changed using the dropdown at the top. This list is searchable, so you can start typing the name of the collection you are looking for, to find it faster.

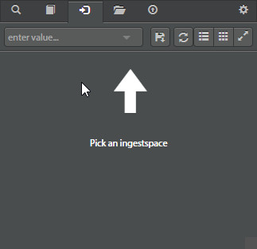
 Ingestspaces
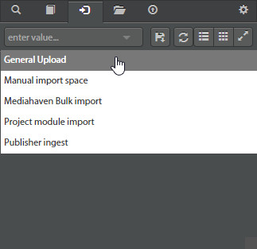
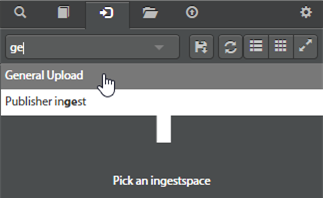
Similar to collections, assets can also be retrieved based on which Ingestspace they reside in.

4. Downloading / Editing files
Basics
When using an asset in Photoshop ![]() or Premiere
or Premiere ![]() it is important to have access to the original file, to have the full resolution to work with.
it is important to have access to the original file, to have the full resolution to work with.
Before such an original can be opened, it needs to be added to the cache first.
Cached items can be recognized by their blue highlight color and the folder icon ![]() . Cached items are available offline.
. Cached items are available offline.

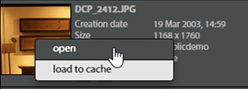
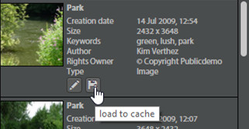
Loading assets to the cache
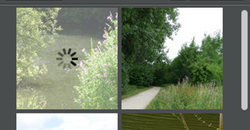
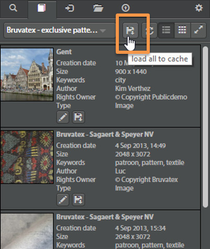
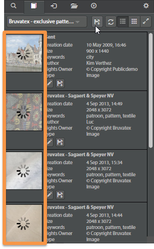
Assets can be loaded to the cache either by clicking the floppy disk icon, or by selecting "load to cache" from the context menu. A spinner will appear indicating progress, and the asset will turn blue when the item has successfully been added to the cache. Some additional object actions will become available.
It is possible the "load to cache"-button is not available for some assets. This is because your user does not have the "export"-rights for these assets.
 |
|

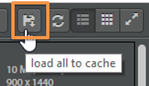
When using the Ingestspace or Collections tab, there is also the global action to load all visible items to cache in bulk.
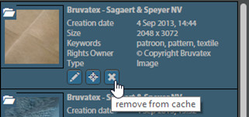
Removing assets from the cache
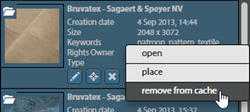
An asset can be removed from the cache by clicking the cross button, or by choosing "remove from cache" in the context menu.
Cached object actions
Photoshop 
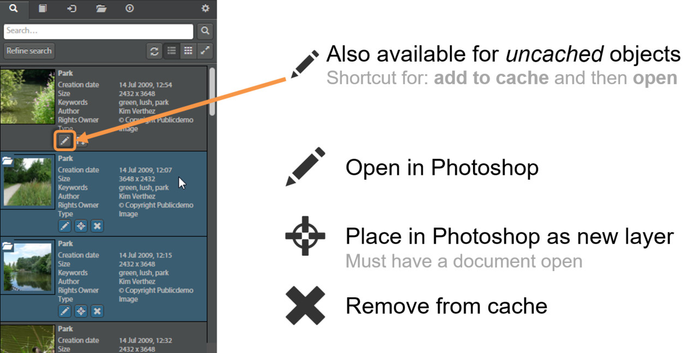

A cached object in Photoshop has the following actions:
Edit: Opens the file in Photoshop
Place: Places the file as a new Photoshop layer (smart object) in the currently open Photoshop document.
Remove from cache: Removes the object from cache
Additionally, in Photoshop there is also a shortcut for uncached assets to add the asset to cache and open it immediately after. This is the pencil icon.
Premiere 


A cached object in Premiere has the following actions:
Import to project: Imports the asset to the Premiere project
Remove from cache: Removes the object from cache
 Cache tab
The Cache tab lists all the items currently in the cache. The same object actions are also available here.

Additionally there is also the option to clear the entire cache with one click, by pressing the "delete all" button.

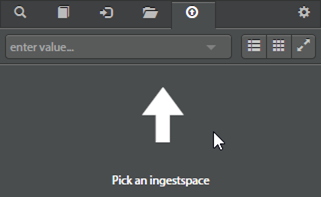
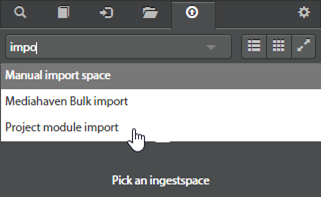
5.Uploading files
The “upload” tab can be used to upload assets to MediaHaven. Essentially all file formats can be uploaded, so they must not necessarily be compatible with Photoshop.

First an ingestspace needs to be selected. Again, you can start typing to filter the list of available ingest spaces.
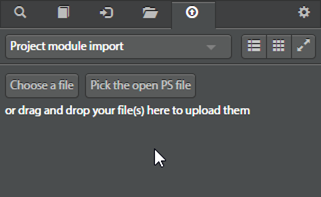
Once an ingestspace is selected, multiple options to upload become available:
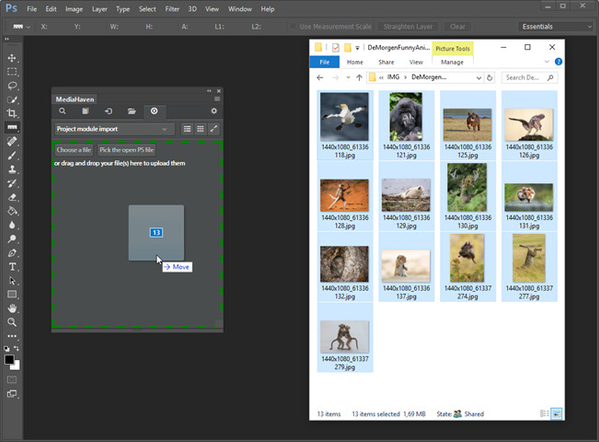
- Drag and drop from filesystem
- Filepicker dialog
- Directly from Photoshop
Option 1: Drag and Drop from filesystem
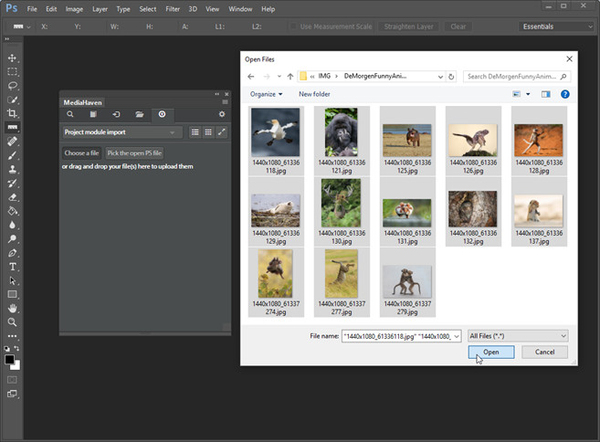
Option 2: Filepicker dialog
Press the button to open a filepicker dialog. Multiple files can be selected at once. Click '
open' to start uploading.
Option 3: Directly from Photoshop
Press the  button to upload the currently active Photoshop document. The document is uploaded as a copy with the *.psd file format. It is possible you are requested to first save your document to disk, before uploading can succeed.
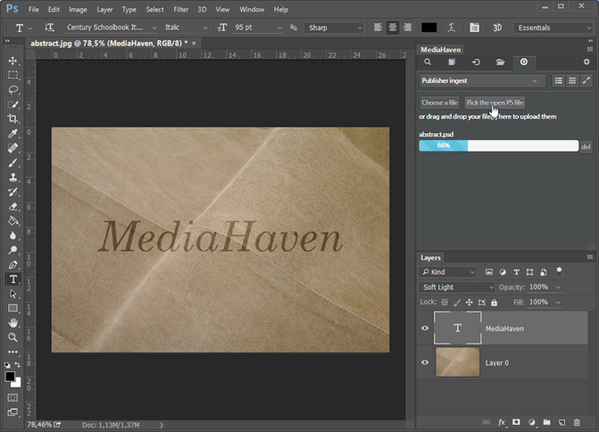
Upload progress
Files that are uploading each have their own progress bar, allowing you to follow their status.
Blue: file upload is in progress Red: file already exists inside MediaHaven Orange: MediaHaven has received the file, and is processing it. Green: The file has been processed, and it is available in the ingestspace. |

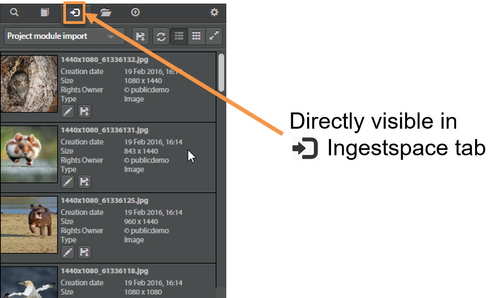
If you switch over to the ingestspace tab, you can see that completed uploads are directly visible. This means they are also available for other users sharing the ingestspace. They can then, for example, use this Adobe Extension to add the file to their projects.