Adobe CC: Editing & Cache
Basics
When using an asset in Photoshop or Premiere it is important to have access to the original file, to have the full resolution to work with.
Before such an original can be opened, it needs to be added to the cache first.
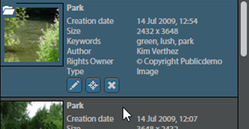
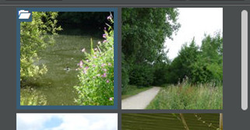
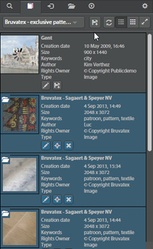
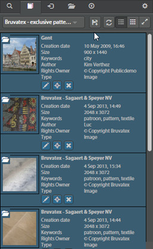
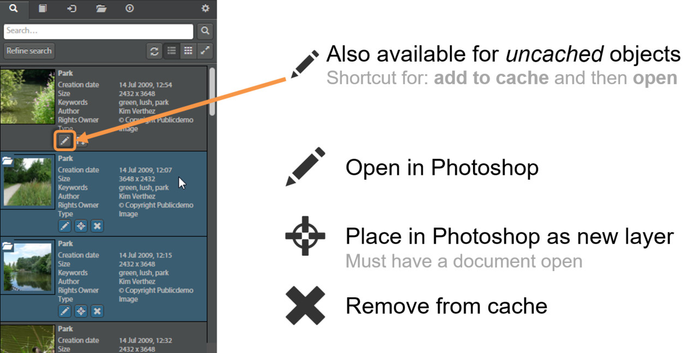
Cached items can be recognized by their blue highlight color and the folder icon . Cached items are available offline.
Loading assets to the cache
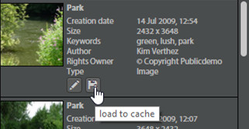
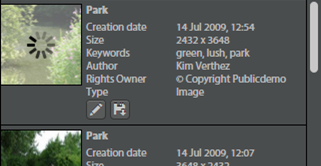
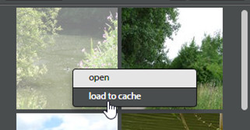
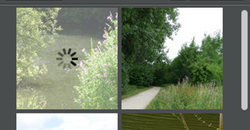
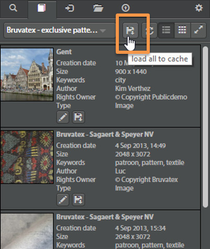
Assets can be loaded to the cache either by clicking the floppy disk icon, or by selecting "load to cache" from the context menu. A spinner will appear indicating progress, and the asset will turn blue when the item has successfully been added to the cache. Some additional object actions will become available.
It is possible the "load to cache"-button is not available for some assets. This is because your user does not have the "export"-rights for these assets.
When using the Ingestspace or Collections tab, there is also the global action to load all visible items to cache in bulk.
Removing assets from the cache
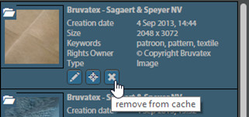
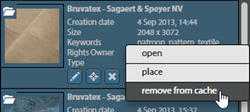
An asset can be removed from the cache by clicking the cross button, or by choosing "remove from cache" in the context menu.
Cached object actions
Photoshop
A cached object in Photoshop has the following actions:
Edit: Opens the file in Photoshop
Place: Places the file as a new Photoshop layer (smart object) in the currently open Photoshop document.
Remove from cache: Removes the object from cache
Additionally, in Photoshop there is also a shortcut for uncached assets to add the asset to cache and open it immediately after. This is the pencil icon.
Premiere
A cached object in Premiere has the following actions:
Import to project: Imports the asset to the Premiere project
Remove from cache: Removes the object from cache
Cache tab
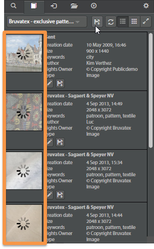
The Cache tab lists all the items currently in the cache. The same object actions are also available here.
Additionally there is also the option to clear the entire cache with one click, by pressing the "delete all" button.


